|
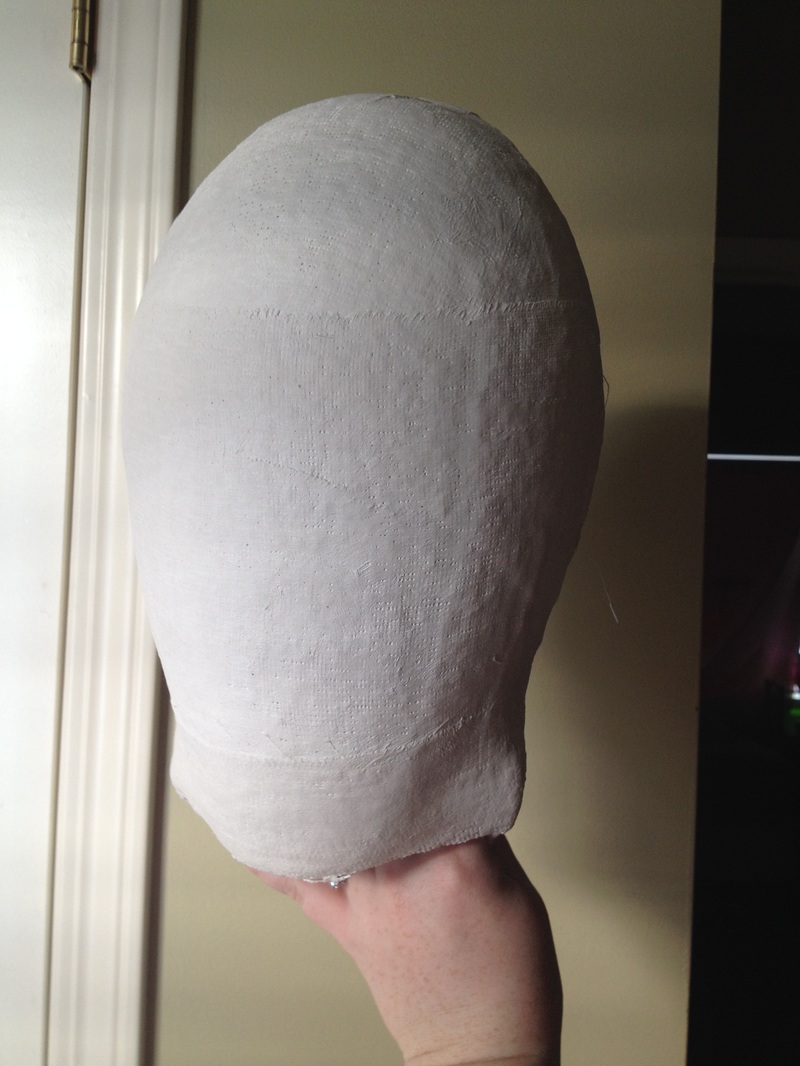
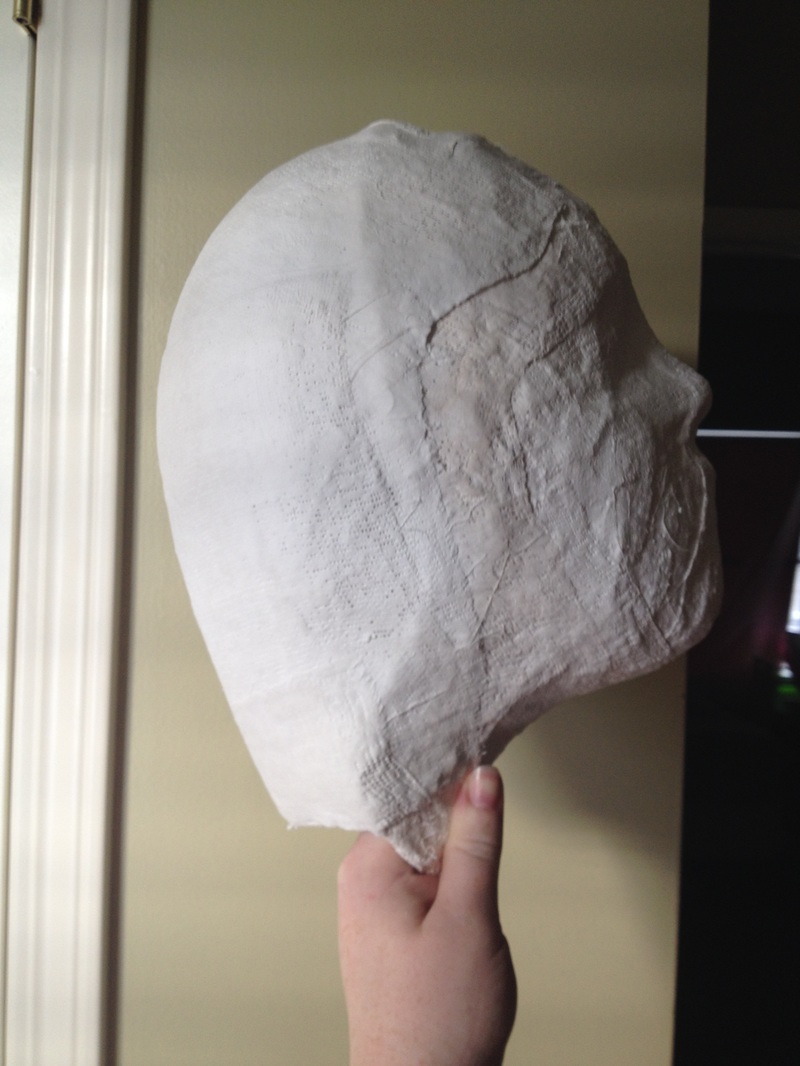
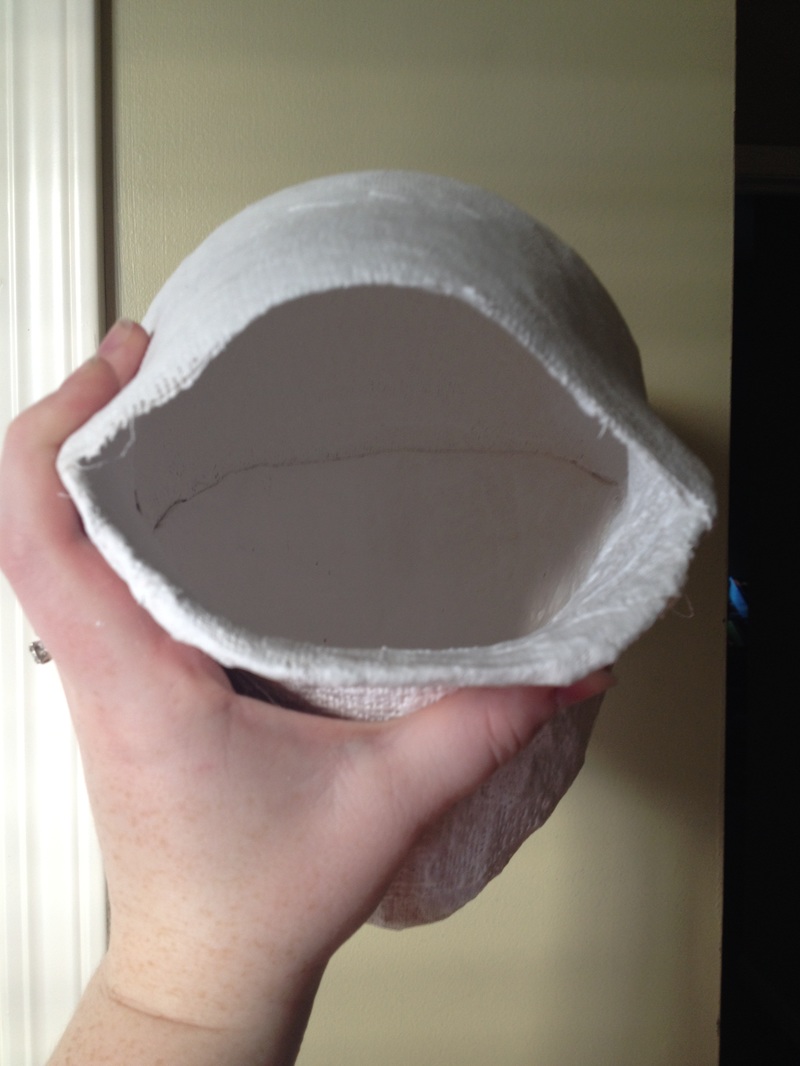
I've been guilty of putting this project on the back burner, and that is because I was getting started with my Airbrush Makeup Workshop and I was devoting a rather large chunk of my time to that. Luckily for me this past weekend my son decided to take a few hour nap which left me some open time! For this half of the head I was torn on how I was going to do it. Option A was to do it the same way I did the front and just use a plastic shower cap to cover my hair and option B was to but some balloons and hope I could measure it out to be about the same size and shape as my head. I opted for option B mostly because that way I could see what I was doing. So after a quick trip to the store for a bag of balloons (only $.97!!!) I measured my head just above my eye brows all the way around and then blew up a balloon and put it in the first half of my mold and fiddled with adding and taking air out until I got my desired size. 3 balloons later I was ready to start. I put a napkin in the face of my mold to try and prevent the balloon from popping as well as taping the end of the balloon down so that it didn't run away from me. This time around I did not pre-cut my plaster strips but dry laid them over and cut to needed lengths. I laid large pieces criss-cross and put at least an inch of overlap to the face half. Make sure you leave a big enough opening at the bottom of the neck so that you can get your hand in there later. Once the plaster is dry enough to make a knocking sound when you gently tap it, pop the balloon and empty the napkin. This is the last stage before molding so make sure you let this sit for a long time until it is COMPLETELY dry, I recommend at least a full 24 hours if not longer. The next step will be the pouring of the mold!!! Stay tuned!
0 Comments
Leave a Reply. |
What's NewThis is where we will keep you updating on current and upcoming events! Archives
January 2016
Categories |
 RSS Feed
